How I Built Custom Pages in Ghost (and How You Can Too)
Two methods for building custom pages in Ghost CMS — HTML cards for quick landing pages, theme templates for dynamic content. Real code from my actual site.

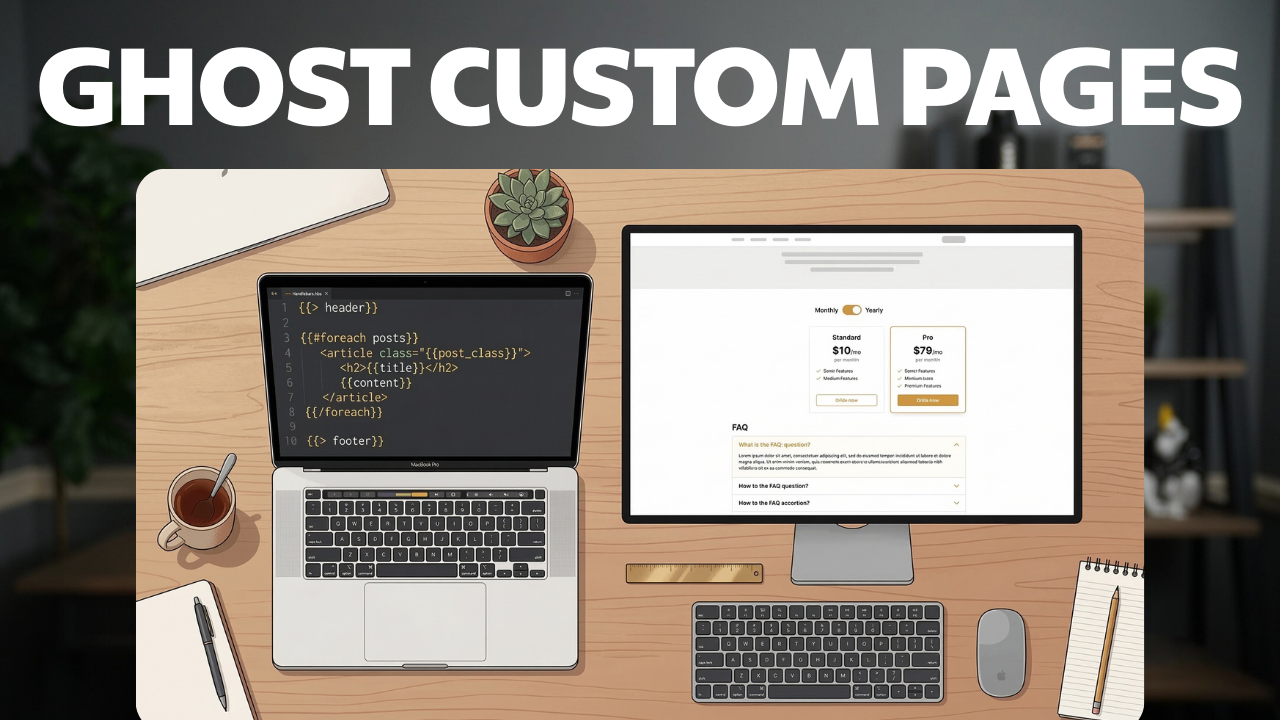

Last week, a reader named Matt emailed me asking what software powers my /join page. He'd seen the pricing toggle, the FAQ accordion, the testimonial cards — and assumed it was a separate app or a page builder plugin.
It's Ghost. Just Ghost.
But that answer alone isn't very useful, so here's the full picture.
I use two different methods to build custom pages on daveswift.com, and each one makes sense for different reasons. The /join page is built entirely with HTML cards in the Ghost editor — no theme changes needed. The /premium page uses a custom Handlebars template in my theme, because it needs things the editor can't do. Both live on the same site, serving different purposes.
In this post, I'll tell you how each works, and how you can build them even if you don't know how to write code.
Ghost pages vs posts
If you haven't used Ghost pages before, they're just like posts, but they don't show up in your feed or tag archives. They get their own URL slug but they use a page.hbs template instead of post.hbs.
The catch is that the default page.hbs in most Ghost themes is minimal. Here's what mine looks like:
{{!< default}}

{{#post}}

<main class="gh-main">
    <article class="gh-article {%%{post_class}%%}">

        {{#match @page.show_title_and_feature_image}}
            {{> "breadcrumbs"}}
            <header class="gh-article-header gh-canvas">
                <h1 class="gh-article-title is-title">{%%{title}%%}</h1>
                {{#if custom_excerpt}}
                    <p class="gh-article-excerpt is-body">{%%{custom_excerpt}%%}</p>
                {{/if}}
                {{> "feature-image"}}
            </header>
        {{/match}}

        <section class="gh-content gh-canvas is-body">
            {%%{content}%%}
        </section>

    </article>
</main>

{{/post}}
That's 27 lines. It renders {{content}} inside a standard article wrapper — the same layout as a blog post. There's no built-in support for custom sections, pricing cards, or interactive elements. If you want anything outside of what Ghost's editor offers, you need to build them yourself.
Two ways to do that.
Method 1: HTML cards in the Ghost editor
You don't touch your theme, you don't need a dev environment, and you can iterate directly in the Ghost editor with live preview.
Ghost's editor supports HTML cards — blocks where you write raw HTML, CSS, and JavaScript. The editor renders them inline, and they ship as-is to your published page. You can build surprisingly complete landing pages this way.
Here's how to built something similar to the sections on my /join page.
Hero section
The simplest starting point. A headline, subtitle, and call-to-action button — all in a single HTML card:
<style>
  .join-hero {
    text-align: center;
    padding: 4rem 2rem;
    max-width: 600px;
    margin: 0 auto;
  }
  .join-hero h1 {
    font-size: 3.2rem;
    font-weight: 800;
    line-height: 1.15;
    margin: 0 0 1.5rem;
  }
  .join-hero p {
    font-size: 1.6rem;
    color: #666;
    line-height: 1.6;
    margin: 0 0 2.5rem;
  }
  .join-hero .btn {
    display: inline-block;
    background: #1d1d1f;
    color: #fff;
    padding: 1rem 2.4rem;
    border-radius: 8px;
    font-weight: 700;
    font-size: 1.5rem;
    text-decoration: none;
  }
</style>

<div class="join-hero">
  <h1>Get the Full Picture</h1>
  <p>Written companions to every video — config files, troubleshooting
     steps, and the details that don't fit in 15 minutes.</p>
  <a href="#pricing" class="btn">See Plans</a>
</div>
The <style> tag can go right in the HTML card (or if you're comfortable editing your theme, you can move it to the theme). If you use the HTML card, Ghost doesn't strip CSS. These styles are scoped by your class names, so they won't bleed into the rest of the page as long as you pick names that don't collide with your theme.
Pricing toggle
My /join page has a monthly/annual toggle that swaps the displayed price and updates the CTA links. This is done entirely with CSS — no JavaScript required. The trick is hidden radio buttons and sibling selectors:
<style>
  .pricing-card { max-width: 500px; margin: 0 auto; }
  .pricing-card > input[type="radio"] {
    position: absolute;
    opacity: 0;
    pointer-events: none;
  }
  .pricing-toggle {
    display: inline-flex;
    background: #e5e5e5;
    border-radius: 8px;
    overflow: hidden;
    margin-bottom: 1.5rem;
  }
  .pricing-toggle label {
    padding: 0.6rem 1.4rem;
    font-weight: 700;
    cursor: pointer;
    transition: background 0.15s ease;
  }
  #plan-monthly:checked ~ .pricing-header
    label[for="plan-monthly"],
  #plan-annual:checked ~ .pricing-header
    label[for="plan-annual"] {
    background: #f5c542;
    color: #1d1d1f;
  }
  .price-annual { display: none; }
  #plan-annual:checked ~ .pricing-header .price-monthly
    { display: none; }
  #plan-annual:checked ~ .pricing-header .price-annual
    { display: block; }
</style>

<div class="pricing-card">
  <input type="radio" id="plan-monthly" name="plan"
         checked>
  <input type="radio" id="plan-annual" name="plan">
  <div class="pricing-header">
    <div class="pricing-toggle">
      <label for="plan-monthly">Monthly</label>
      <label for="plan-annual">Annual</label>
    </div>
    <div class="price-monthly">
      <span class="price">$5</span>/month
    </div>
    <div class="price-annual">
      <span class="price">$50</span>/year
    </div>
  </div>
</div>
The radio buttons sit outside the visible card structure but inside the same container. When you check "Annual", CSS hides the monthly price and shows the annual one. No JS, no flicker, works with JavaScript disabled.
FAQ accordion
Native HTML handles this one. The <details> element gives you a collapsible section with zero JavaScript:
<details>
  <summary>What do I get with a premium membership?</summary>
  <p>Full written companions for every video — config files,
     code snippets, troubleshooting guides, and members-only
     posts not available on YouTube.</p>
</details>

<details>
  <summary>Can I cancel at any time?</summary>
  <p>Yes. No lock-in, no cancellation fee. Cancel from your
     account settings and keep access until the end of your
     billing period.</p>
</details>
Style it with a separate <style> block in the same HTML card, or add one in a card above it. The <summary> element is the clickable header, and everything else inside <details> is the collapsible body.
Ghost Portal CTAs
Ghost has a built-in signup and payment system called Portal. You trigger it with special URLs and data attributes. Here's how to link directly to a specific tier and billing interval:
<a href="#/portal/signup/TIER_ID/monthly"
   data-portal="signup">
  Subscribe Monthly — $5/mo
</a>
Replace TIER_ID with your actual tier ID from Ghost Admin (Settings → Membership → Tiers). The URL pattern is #/portal/signup/{tier_id}/{interval} where interval is monthly or yearly. The data-portal attribute tells Ghost's Portal script to intercept the click and open the signup modal instead of navigating.
For upgrade prompts aimed at existing free members:
<a href="#/portal/upgrade" data-portal="upgrade">
  Upgrade Your Plan
</a>
What this approach can't do
HTML cards are self-contained. They don't have access to Ghost's Handlebars template engine, which means:
- No dynamic data. You can't query recent posts with
{{#get}}or pull in tag lists. Everything is hardcoded. - No member-conditional rendering. You can't show different content to free vs paid members using
{{#unless @member.paid}}. JavaScript workarounds exist (checkingdocument.body.classListfor Ghost's member classes), but they're fragile. - No theme CSS pipeline. Your styles live inline in the HTML card, not in your theme's compiled stylesheet. This means no CSS variables from your design system (unless you reference them by name and trust they exist), no autoprefixer, no minification.
- Editor ergonomics degrade. A page with five or six HTML cards, each containing 50+ lines of markup, gets unwieldy to edit. Ghost's HTML card editor is a plain text box — no syntax highlighting, no formatting.
For a signup page where the content rarely changes, these trade-offs are fine. For anything that needs dynamic content or member awareness, you need the second method.
Method 2: Custom page templates in your theme
This is what I use for the /premium page on daveswift.com and what I do most often. You write a Handlebars template in your Ghost theme, and Ghost automatically uses it for a specific page based on the filename.
The convention is simple: create a file called page-{slug}.hbs in your theme root. When someone visits /premium, Ghost looks for page-premium.hbs before falling back to the default page.hbs. No configuration needed — the filename is the routing.
Template skeleton
Every custom page template starts the same way:
{{!< default}}
<main class="gh-main gh-outer">
    {{#page}}

    {{!-- Your page content goes here --}}

    {{/page}}
</main>
{{!< default}} tells Ghost to wrap this template inside default.hbs — your site's main layout with the header, navigation, and footer. The {{#page}} block gives you access to the page's properties (title, content, slug, etc.), though for a fully custom template you'll usually hardcode the structure rather than using {{content}}.
Member-conditional rendering
This is the main reason I use a template for /premium instead of an HTML card. My premium page shows completely different content depending on whether the visitor has a paid membership:
{{#unless @member.paid}}
    {{!-- Non-paid visitor sees: sales pitch, preview grid,
         pricing CTA --}}
    <section class="pp-hero gh-inner">
        <h1 class="pp-hero-headline">
          What the Video Didn't Cover.
        </h1>
        <p class="pp-hero-sub">
          Every tool review and tutorial has a written
          companion that goes deeper.
        </p>
    </section>

    {{!-- ... pricing, benefits, FAQ sections ... --}}

{%%{else}%%}
    {{!-- Paid member sees: welcome message, full post
         library, Member Hub link --}}
    <section class="pp-hero pp-hero--member gh-inner">
        <h1 class="pp-hero-headline">Your Premium Posts</h1>
        <p class="pp-hero-sub">
          Written companions, config guides, and
          members-only content.
        </p>
    </section>

    {{!-- ... full post grid, hub callout ... --}}

{{/unless}}
@member is a global Ghost variable that tells you about the currently logged-in member. @member.paid is a boolean — true for paid subscribers, false for free members and anonymous visitors. You can branch on this to build entirely different page experiences without any JavaScript.
My page-premium.hbs is 303 lines long. Non-paid visitors see a sales-oriented page with benefit cards, a content preview grid, FAQ, and multiple CTAs. Paid members see a clean library of all premium posts with a link to the Member Hub. Same URL, two different pages.
Dynamic content queries
The other thing you can't do from an HTML card: query your Ghost content. My premium page pulls in the six most recent paid posts to show as a preview grid:
{{#get "posts" filter="visibility:paid" limit="6"
       include="tags,authors" as |posts|}}
    <div class="pp-grid">
        {{#foreach posts}}
            <article class="gh-featured-card">
                {{#if feature_image}}
                    <a href="{%%{url}%%}">
                        <img src="{{img_url feature_image size="m"}}"
                             alt="{%%{title}%%}" loading="lazy">
                    </a>
                {{/if}}
                <h3><a href="{%%{url}%%}">{%%{title}%%}</a></h3>
                {{#if custom_excerpt}}
                    <p>{%%{custom_excerpt}%%}</p>
                {{/if}}
            </article>
        {{/foreach}}
    </div>
{{/get}}
{{#get}} is Ghost's data query helper. You can filter by visibility (paid, public, members), tags, authors, or custom fields. include="tags,authors" pulls in related data so you can display tag badges or author names without extra queries. {{#foreach}} iterates over the results.
For paid members, I use the same pattern but with limit="100" to show the full library instead of a preview.
The CSS pipeline
With HTML cards, your styles are inline. With a theme template, you get the full CSS build pipeline.
I keep page-specific CSS in assets/css/pages/ — premium.css for the premium page, membership.css for the join page's theme-level styles. These get listed in gulpfile.js alongside every other stylesheet:
function css() {
    return gulp.src([
        'assets/css/screen.css',
        'assets/css/components/design-system.css',
        // ... other component styles ...
        'assets/css/pages/membership.css',
        'assets/css/pages/premium.css',
        // ... more page styles ...
    ])
    .pipe(concat('screen.css'))
    .pipe(postcss([autoprefixer(), cssnano(/* ... */)]))
    .pipe(gulp.dest('assets/built/'));
}
Everything gets concatenated into a single screen.css, autoprefixed, and minified. One HTTP request, consistent with the rest of the theme, and you get access to all your design system variables and utility classes.
Trade-offs of theme templates
- Dev environment required. You need a local Ghost install (or at least
gscanfor validation) to test templates before deploying. Can't iterate in the browser the way you can with HTML cards. - Deployment step. Every change means zipping the theme, uploading to Ghost Admin (or pushing via CI), and waiting for Ghost to restart the theme. For a one-off tweak, that's slower than editing an HTML card.
- More upfront work. Setting up the Handlebars structure, the CSS file, the gulpfile entry — there's scaffolding before you write any visible content.
- Full template API. In exchange, you get
{{#get}}queries,@memberconditionals,{{> partial}}includes, and every other Handlebars helper Ghost provides. For pages that need dynamic content or member awareness, there's no workaround that matches this.
Which method for which page
I won't dress this up as a comparison table. Here's what I'd actually recommend.
Use HTML cards when you're building a one-off landing page that doesn't need to know about your members or your content. A signup page with static pricing, a sponsorship pitch, an event landing page. You can build it directly in the Ghost editor, preview it live, and ship it in minutes. Non-developers can manage it without touching the theme.
Use a theme template when the page needs dynamic content or member-conditional rendering. A premium content library, a dashboard, anything that should look different to free vs paid members. Also the better choice for permanent structural pages that you'll maintain long-term — the CSS pipeline and partial system make changes cleaner.
My actual setup: /join uses HTML cards for the pricing toggle, FAQ, and Portal signup links. It's a sales page — the content is static, and I want to iterate on copy quickly without redeploying the theme. /premium uses page-premium.hbs because it needs {{#get}} queries to pull in recent paid posts and {{#unless @member.paid}} to show different pages to different visitors. Both run on the same Ghost site, no conflicts.
Don't Know How To Code? (Using Claude Code to build Ghost pages)
The truth of the matter is that while I could have coded these pages myself, it would have taken me a long time, at least compared to how long it did take.
I used Claude Code for most of the HTML/CSS generation on these pages.
Here's what that actually looks like.
For HTML cards
I describe the section I want — "a pricing card with a monthly/annual toggle, dark header, benefit checklist, and a Ghost Portal signup button" — and Claude Code generates the HTML and CSS. I could paste it into a Ghost HTML card, preview it, and iterate, but what I actually do is give Claude API access to my site and it builds it while I supervise.
If the spacing is off or the toggle behavior isn't right, I describe what needs to change and get an updated version.
What this saves me is the boilerplate. Writing a pricing toggle with CSS-only radio button selectors from scratch takes 20 minutes of fiddling with sibling combinators. Describing what I want and getting a working first draft takes about 30 seconds. The iteration — adjusting sizes, colours, spacing — is the same either way, but I'm starting from something functional instead of a blank file.
For theme templates
Claude Code can scaffold a page-{slug}.hbs with the correct Handlebars syntax, layout inheritance ({{!< default}}), member conditionals, and {{#get}} queries. It also generates companion CSS following whatever naming conventions your existing styles use — in my case, the pp- prefix pattern from premium.css.
I have a SSO bridge script in my page-premium.hbs. It's a 65-line JavaScript block that handles single sign-on between the Ghost site and my external Member Hub, where premium members can suggest video ideas. When a paid member clicks "Open Hub", the script fetches their Ghost session token, extracts their email from the JWT payload, sends it to the hub's SSO endpoint, and redirects on success. Claude Code generated the initial version — the fetch chain, the JWT parsing, the error handling for 403/429 responses. I adjusted the UX details (the button state changes, the status messages) and tested it across member states.
Where it falls short
Claude Code doesn't make design decisions for you. It'll generate a layout, but whether that layout looks good on your site, whether it fits your design system, whether the visual hierarchy makes sense, that's still your call. It also doesn't know Ghost's quirks. .
You still need to know what you want and how Ghost works, Claude Code just gets you there faster. If you need help getting Claude Code set up, I've got a full walkthrough. And if you're using it with API keys or credentials, read the credential safety guide first.
Start with an HTML card
If you've never built a custom Ghost page before, start with Method 1. Create a new page in Ghost, add an HTML card, and build a single section — a hero, a pricing card, an FAQ. Preview it. See how it works.
If that page grows complex enough to need dynamic queries or member awareness, you'll know when it's time to move to a theme template. Ghost's official template documentation covers the Handlebars API in detail.
Both methods work. Pick the one that fits what your page needs to do. If you're brand new to Ghost, make sure to check out my Ghost Mastery course. It is about to get a big update, so lock in now before I increase the price (it include free updates for life, of course).
You might also like
Ghost Editor Reference Library — A free course covering every Ghost editor feature, from basic content blocks to advanced dynamic content and custom HTML cards.
Get Dave's Toolbox
The tools I actually use, every Tuesday. Free. No spam.
No cost. No spam. Unsubscribe anytime.